SERA integration on Cloudflare
Kindly follow the below steps to setup the routing of bot traffic to SERA.
Prerequisites
- This configuration will only work if site DNS is in Proxy mode
Else, if your pages are not cached, you can set it at origin server (Nginx, Apache, custom etc.) - All your page requests must get intercepted by Cloudflare origin-rule or Worker
- Please check your routing, caching and cache-variation policies for that
- Users and Bots should have a separate cache-variations configured. This is to not serve the SERA's bot-optimized-content to users.
Steps
Select the steps according to your plan:
Steps for Enterprise plan customers
-
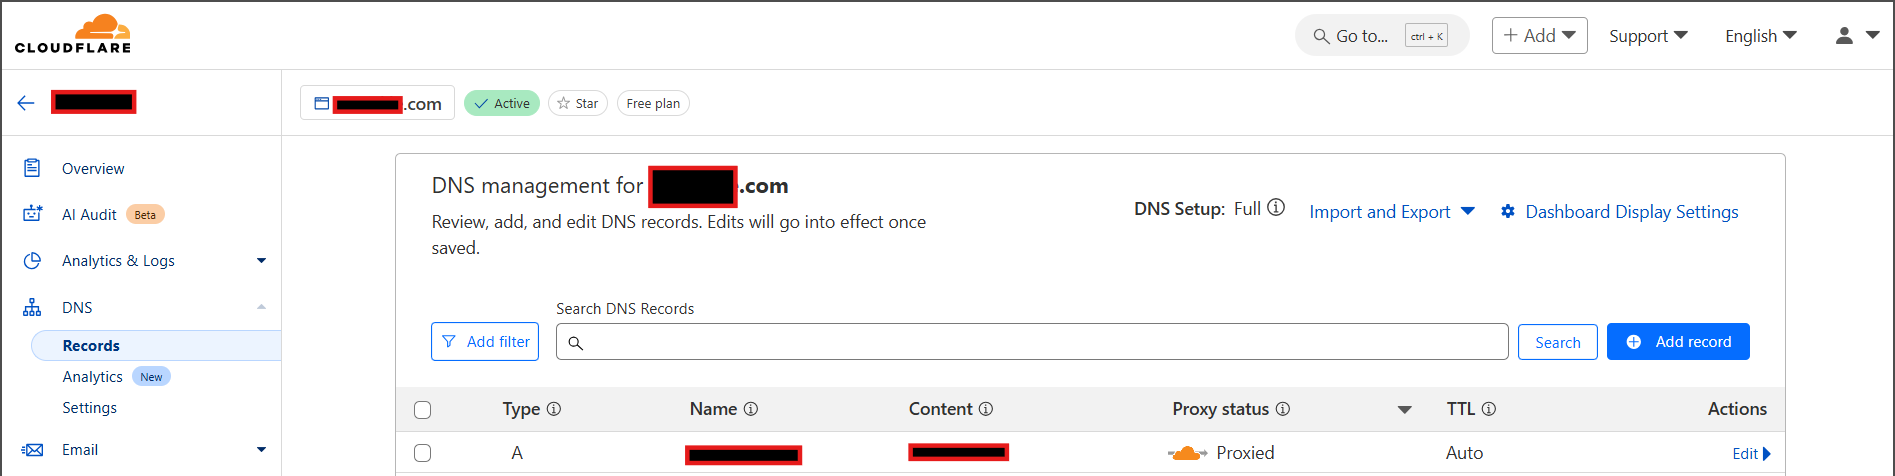
Create a DNS record for SERA
-
Select
DNS > Recordmenu
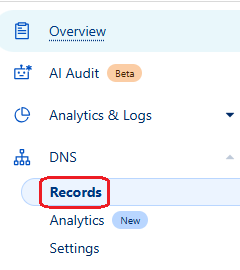
-
Click on
Add record

-
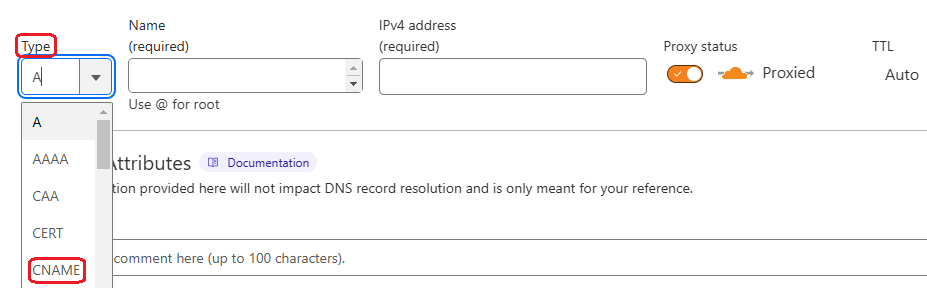
Select
TypeasCNAME
-
Set the values as following :
Name: Set assera
So that, the resultant domain would besera.your.domainname.come.g.sera.www.example.com. You will be referring it in next steps.Target: Set as the one shared by n7 team (e.g.yourdomain-sera.n7.ioorsera.n7.io)Proxy status: Keep the switch set toProxied

-
-
-
Create an Origin rule to route requests to SERA
-
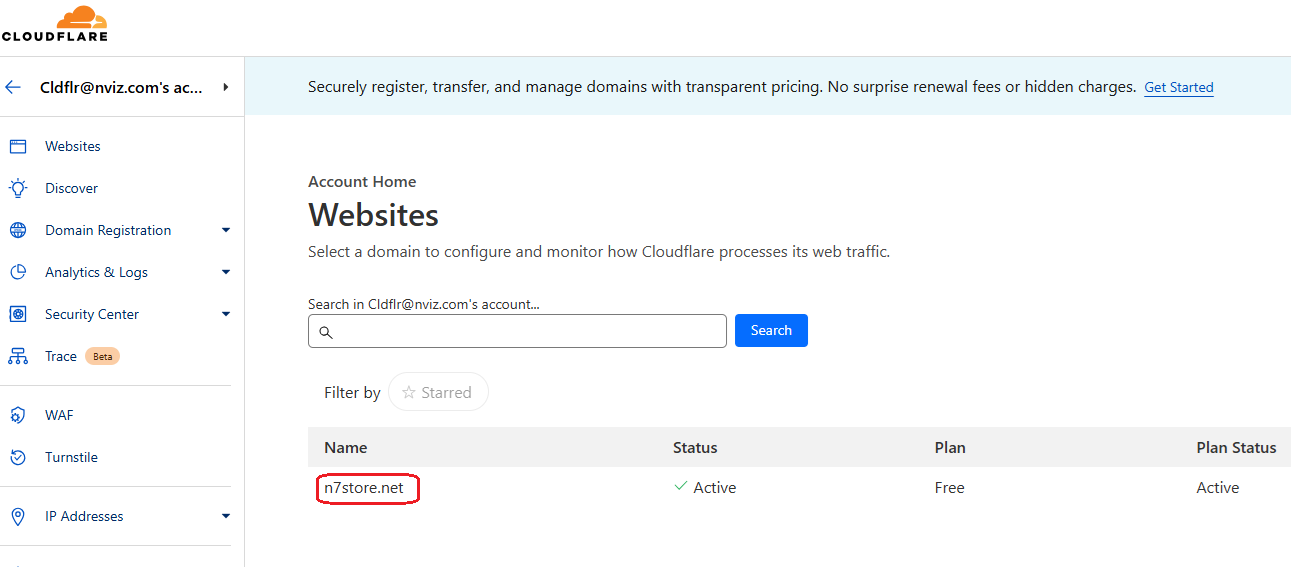
Open Cloudflare Dashboard and Select the site on which SERA is to be configured
-
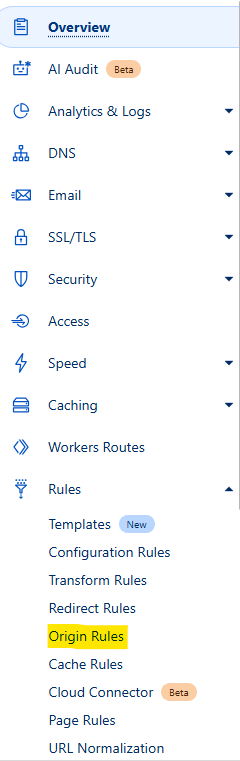
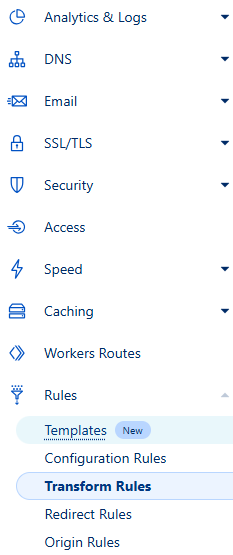
Go to Rules then select Origin rules menu
-
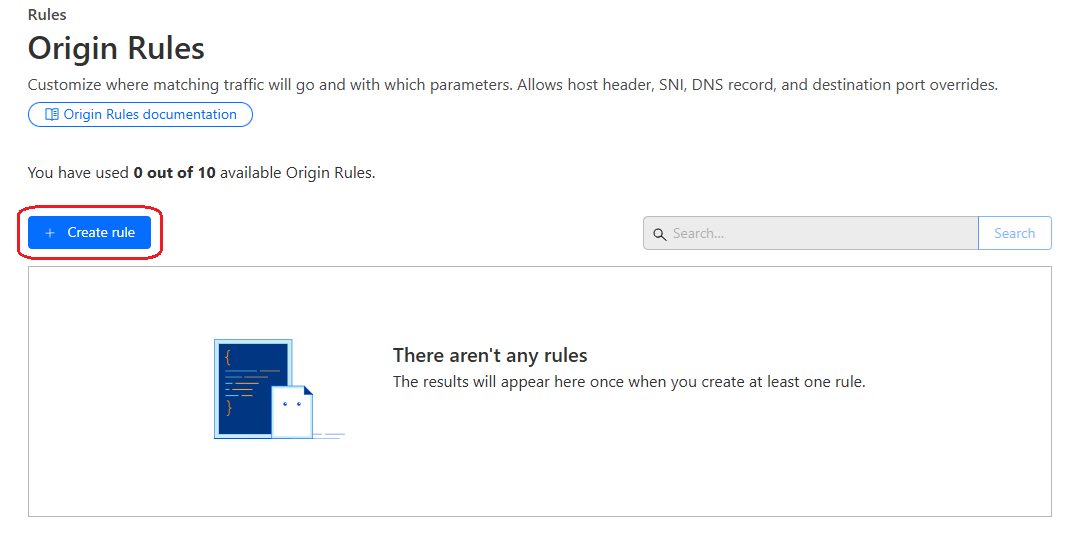
Click on
Create Rulebutton
-
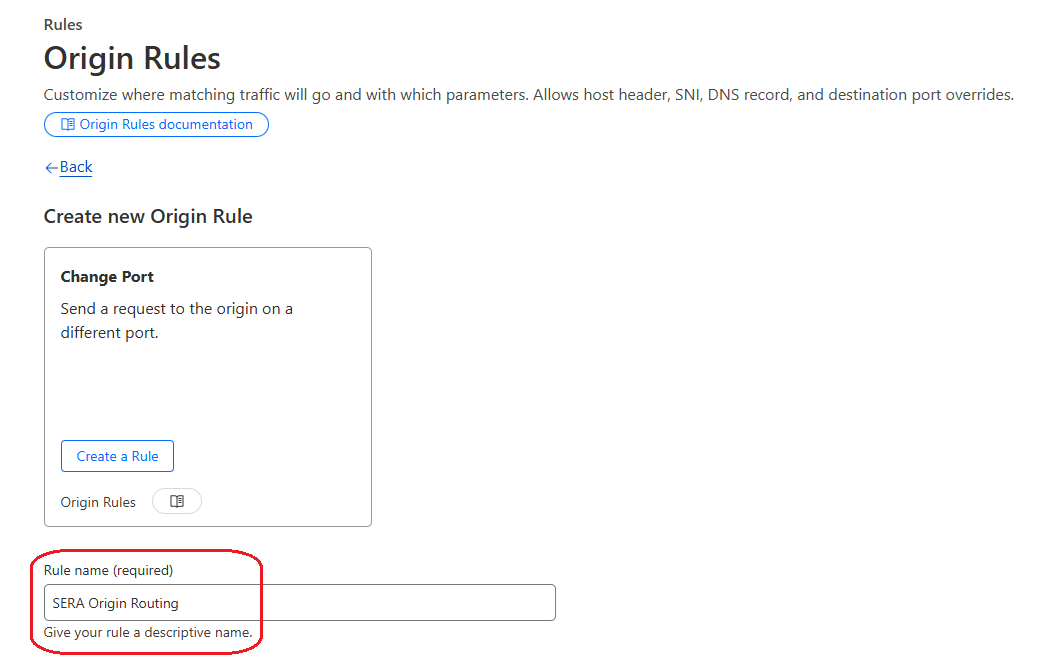
Put
Rule Namee.g.SERA routing
-
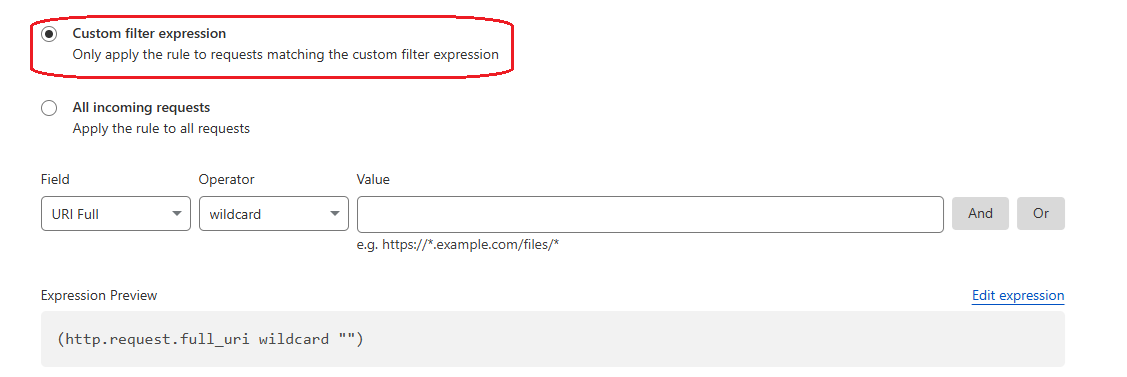
Select Custom filter expression option
-
Click on Edit Expression
-
Put below expression in textarea :
REPLACE FOLLOWING VALUES IN THE CONDITION :host- Page extensions
- Not-to-be-crawled pages
Use this during testing phase :
(http.host == "your.domain.com" and http.request.method == "GET" and http.user_agent matches r"(?i)(n7TestUserAgent|google\ page\ speed|chrome-lighthouse|google-inspectiontool|PTST|GTmetrix)" and http.request.uri.path.extension matches r"^(|html|aspx|php)$" and not http.request.uri.path matches ".*/(api/|_next/|cdn-cgi/|account/|wishlist/|cart/|checkout/|page-not-found|undefined).*" and not any(http.request.uri.args.names[*] == "nsbp") and not any(http.request.headers["x-nv-app"][*] == "sera") and not any(http.request.headers["x-nv-sera-bypass"][*] == "true"))
For actual bots, use this :(http.host == "your.domain.com" and http.request.method == "GET" and http.user_agent matches r"(?i)(googlebot|n7TestUserAgent|google\ page\ speed|chrome-lighthouse|google-inspectiontool|PTST|GTmetrix)" and http.request.uri.path.extension matches r"^(|html|aspx|php)$" and not http.request.uri.path matches ".*/(api/|_next/|cdn-cgi/|account/|wishlist/|cart/|checkout/|page-not-found|undefined).*" and not any(http.request.uri.args.names[*] == "nsbp") and not any(http.request.headers["x-nv-app"][*] == "sera") and not any(http.request.headers["x-nv-sera-bypass"][*] == "true"))

[ Maintain same expression at Origin rule as well as Transform rule ]
-
-
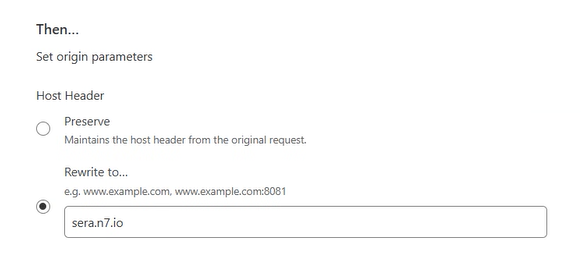
In
Thensection-
Set
Host headeroption toRewrite to, and in textbox provide value as the one shared by n7 team (e.g.yourdomain-sera.n7.ioorsera.n7.io)
-
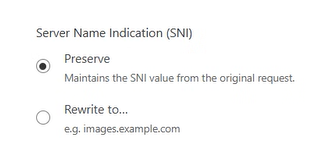
Set
SNIoption toPreserve
-
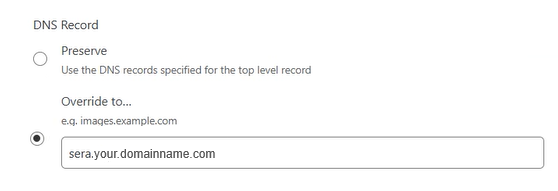
Set
DNS Recordoption toOverride to, and in textbox provide value assera.your.domainname.come.g.sera.www.example.com
(Here you are referring the DNS you had created in earlier step.)
-
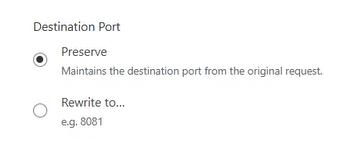
Set
Destination Portoption toPreserve
-
-
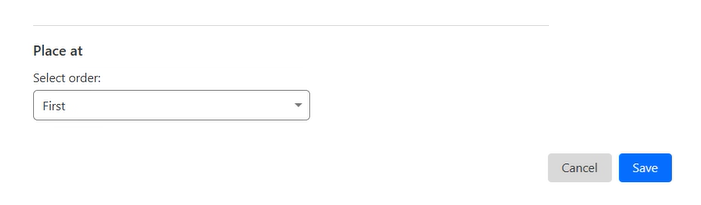
Placethe rule atFirstby selecting respective option andSaveit
-
-
-
Create a Transform Rule
-
Select
Rules > Transform Rulesmenu
-
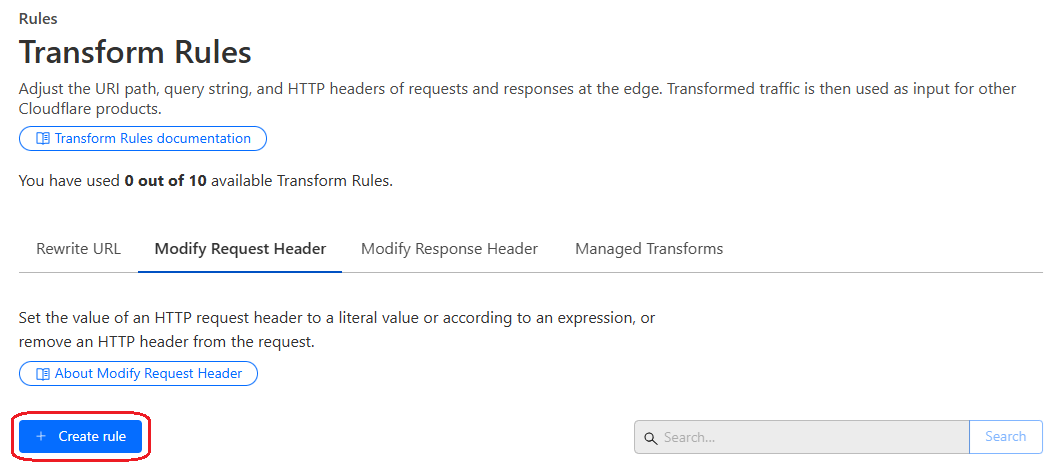
Select
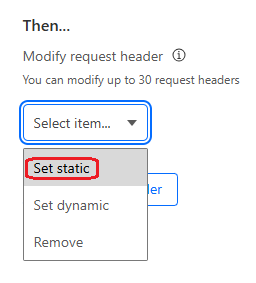
Modify Request Headertab
Click onCreate Rulebutton
-
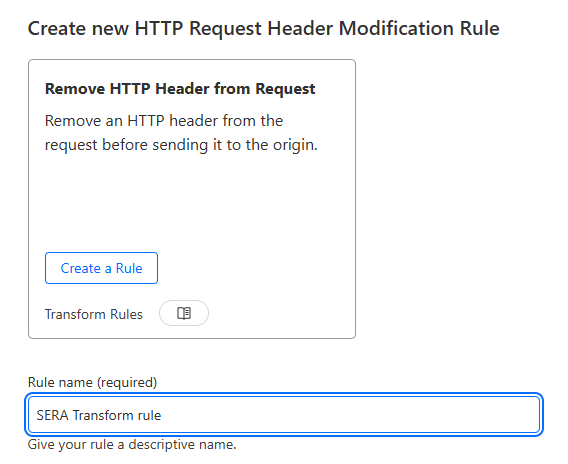
Put
Rule Namee.g.SERA token setting rule
-
Select
Custom filter expression
Put the same expression in textarea - that is set inOrigin Rule

[ Maintain same expression at Origin rule as well as Transform rule ] -
Select
Set static
-
Set
Header nameasx-nv-sera-token
SetValueas the SERA token shared with you by N7 team

-
Again, add another header
SetHeader nameasx-nv-access-key
SetValueas the domain specific secret access-key shared with you by N7 team
-
-
Steps for customers with other plans
-
Create a worker with below steps
-
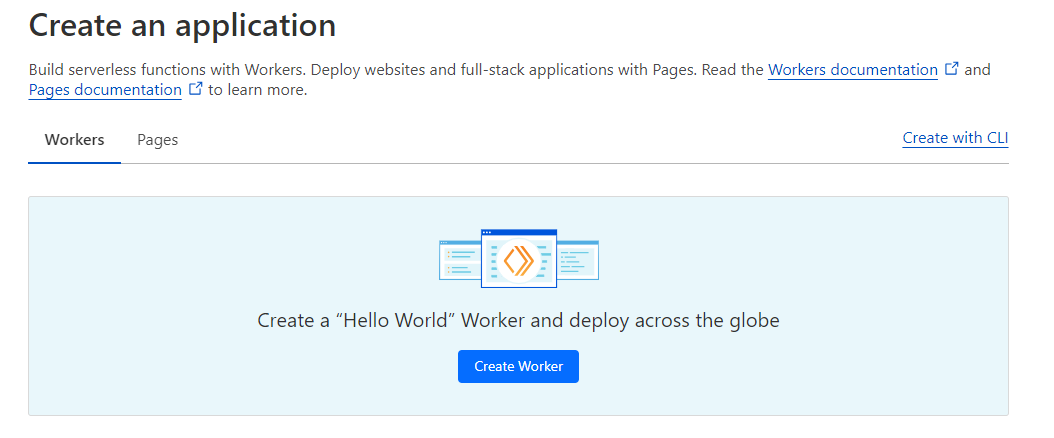
Open Cloudflare Dashboard and click on
Workers & Pageson the left side

-
Click on
Create Worker
-
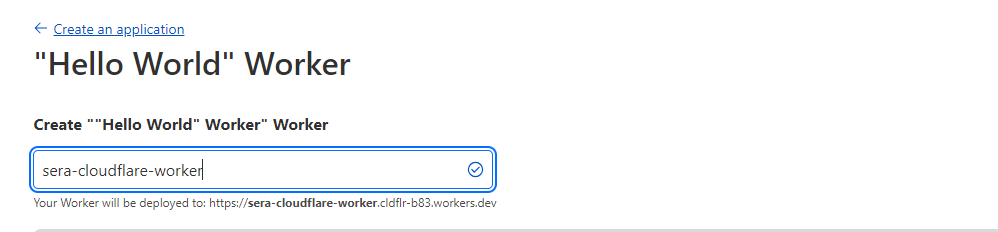
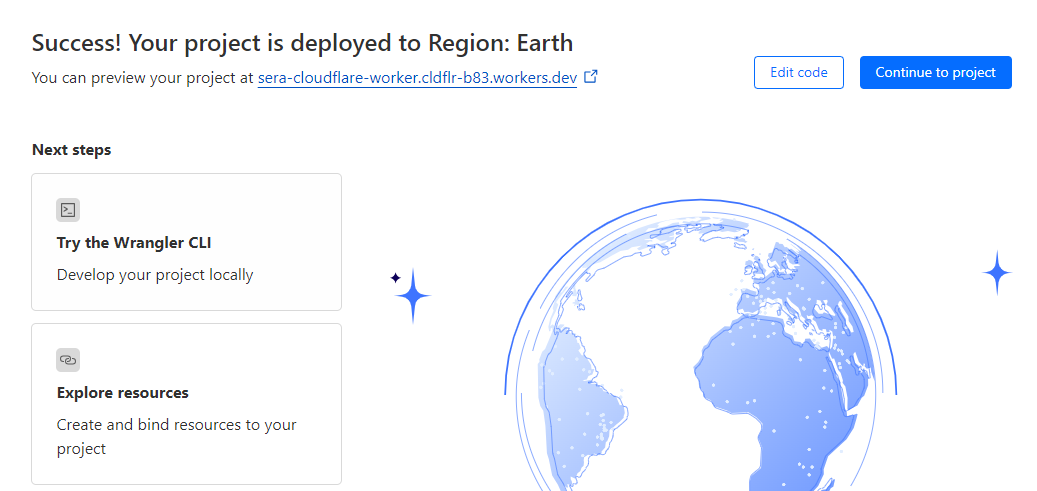
Give your worker a name
-
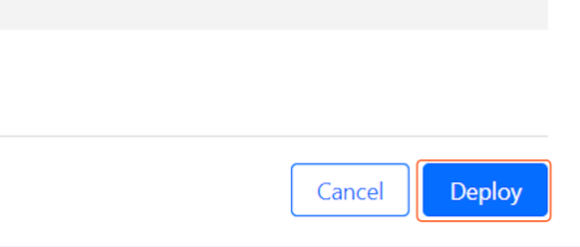
Click on the
Deploybutton at the bottom right
-
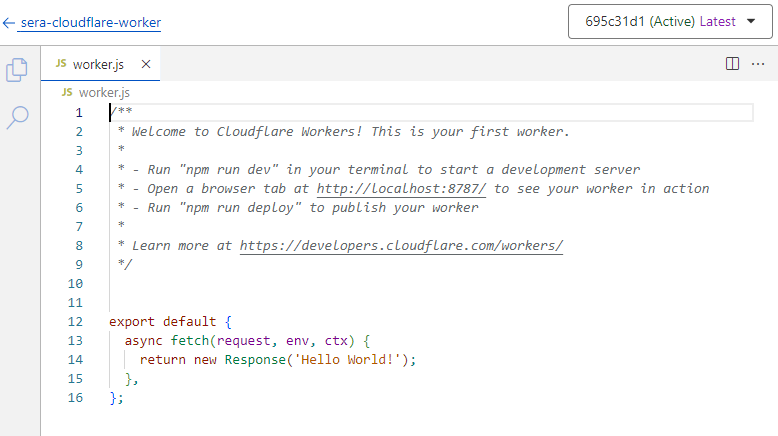
Click on
Edit code
-
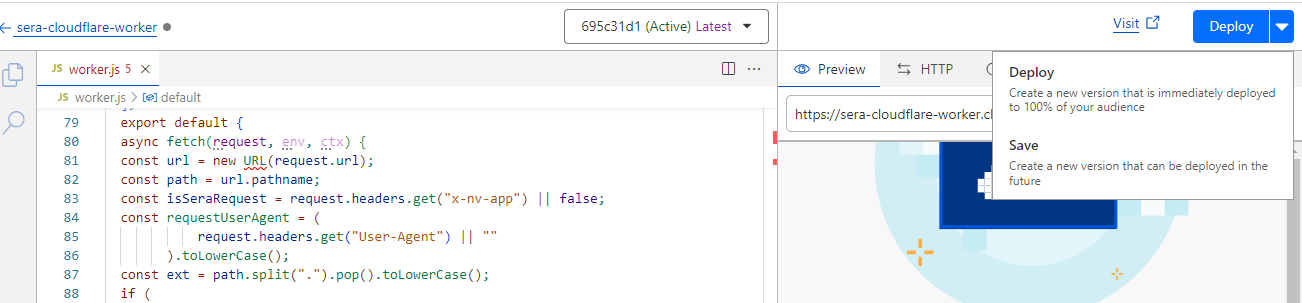
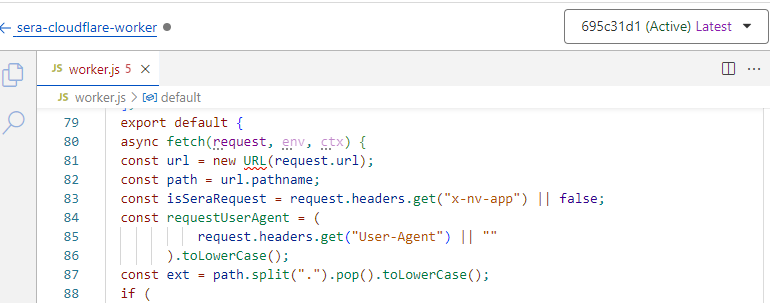
Replace the example code with this code
- Change
YOUR_TOKENwith the SERA token shared with you - Put the relevant bot user-agents in the
BOTSarray which should be routed to SERA.
Check the Testing and Refinement section for some tips. - Keep the file types which should not be sent to SERA in the
SKIP_EXTarray (only the pages be sent to the SERA)
- Change
-
Click on Save and deploy
- If the pop-up modal shown, click on Save and deploy
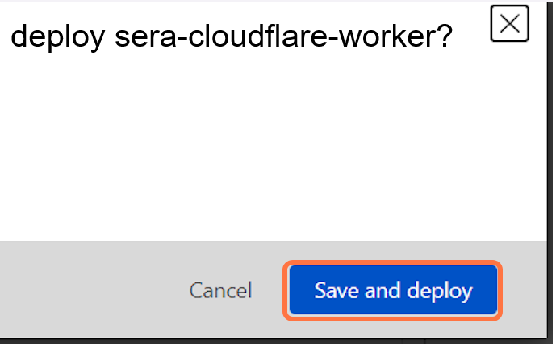
- If the pop-up modal shown, click on Save and deploy
-
-
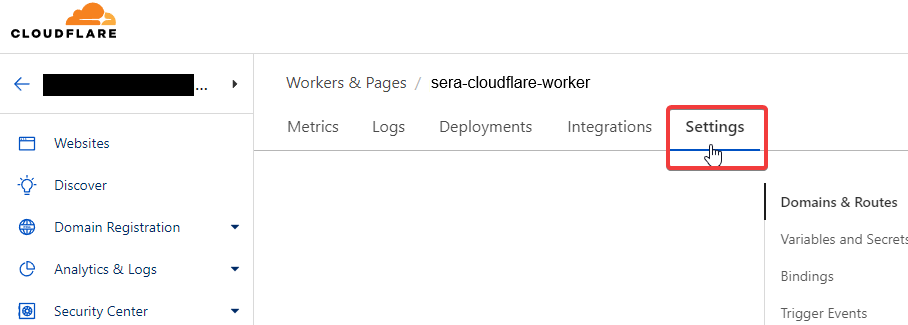
Map the worker to your domain with below steps
-
Step back to the previous interface by clicking on the name of your worker on the top left
-
Click on
Settings
-
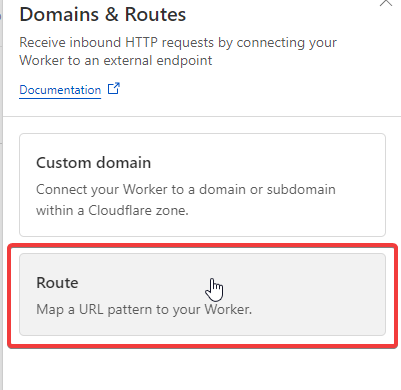
Next to the
Domains & Routes, click on+Add

-
Select
Route
-
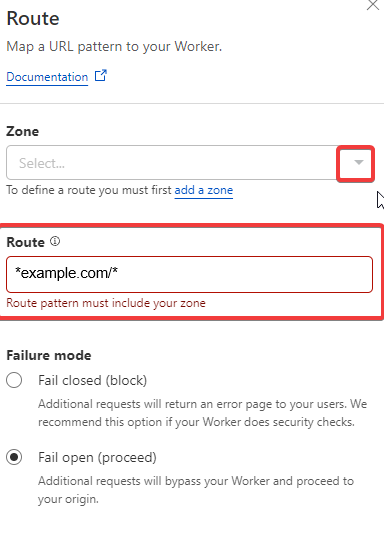
Type in your domain like this: example.com/ and Select the
Zonewhere your site is
-
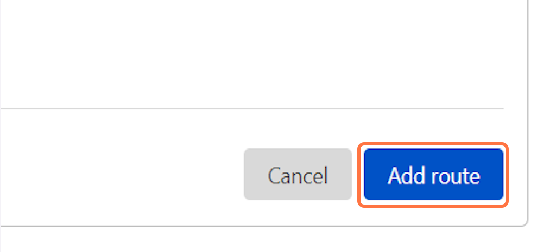
Click on
Add route
-
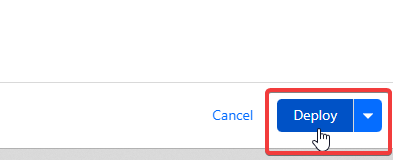
Click on
Deploy
-
Testing and Refinement
-
Keep refining the logic by adjusting user-agent list, and SERA exclusion-patterns as needed.
-
Whitelist SERA requests at your origin to avoid any issues with indexing. Details are here
-
Test thoroughly:
-
WPT and GTMetrix will automatically receive the response from SERA due to the routing rule set above.
- Steps to validate page using WPT
-
To check the SERA rendered page on browser, you can use DevTools > Network conditions facility, or some browser extension (like Simple modify headers) to manipulate the browser user-agent. If in testing phase, use these user-agent values: For desktop:
For mobile: If SERA is live, you can use these actual bot user-agent values: For desktop: For mobile:
-
-
On go-live day, set the user-agent condition regex to actual bot user-agent values. Additionally, ensure that your condition is case-insensitive.
-
After go-live, in any dashboards created for monitoring the "actual user traffic" e.g. Google analytics, exclude the requests with user-agent string containing word "Nitrogen SERA" to get correct understanding about user-traffic.